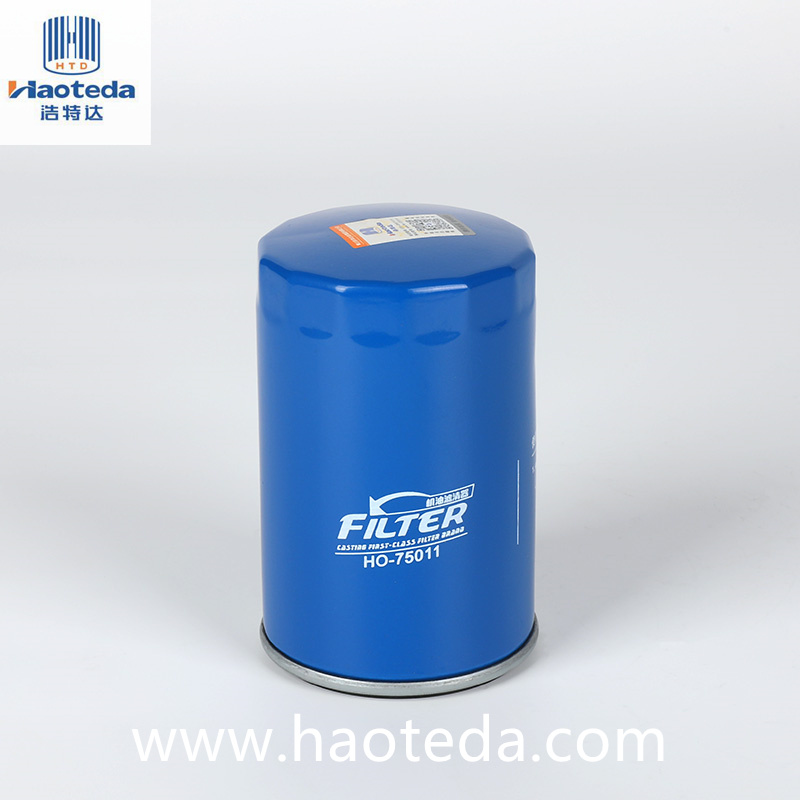
Among the various types of filters, the spin-on oil filter stands out due to its durability, ease of replacement, and ability to prevent impurities from entering the engine system during the filter change process. Understanding how to replace a spin-on filter properly is crucial for maintaining the engine’s longevity and performance. But the key question is: How can you ensure that no impurities enter the engine when replacing the spin-on filter?
The first line of defense against contamination during the replacement process is the design of the spin-on filter itself. The filter is housed in a steel threaded casing, which is screwed directly into the engine body. This secure connection minimizes the chances of any dirt or debris entering the engine during the filter installation or removal. The filter element is completely enclosed within the housing, ensuring that the oil being filtered is contained and protected from external contaminants. This makes the spin-on filter an incredibly convenient option, as it prevents the risk of dirt from the surroundings getting into the oil system during maintenance.
When it comes to removing and replacing the spin-on filter, the process is straightforward but should be done with care to ensure that no unwanted particles are introduced. Before starting, it's important to make sure the engine is off, cool, and that any pressure in the oil system is relieved. This prevents any spills or splashes of oil that could carry contaminants into the system. When removing the old filter, it is critical to do so gently. The used filter may contain oil and residual particles from the engine, so it’s essential to take precautions to avoid spilling this contaminated oil around the engine compartment. It's best to use a catch pan or absorbent cloth to contain any drips.

Once the old filter is removed, it’s time to prepare the new spin-on filter for installation. One simple yet effective tip is to lightly lubricate the rubber gasket of the new filter with a small amount of clean engine oil. This ensures a tight seal when the filter is screwed into place, preventing any gaps where contaminants could seep in. Additionally, before installing the new filter, it’s important to inspect the mounting surface on the engine where the filter will be attached. This surface should be clean and free of oil residue, dirt, or old gasket material. Any dirt left on the mounting surface can easily be transferred into the engine when the new filter is installed.
Another crucial step in avoiding contamination is to handle the new filter with care. While it’s tempting to quickly screw in the new filter, it’s important to ensure that it is installed securely but not over-tightened. Over-tightening can damage the gasket or filter casing, leading to leaks or a poor seal, which could compromise the engine oil system. The filter should be tightened to the manufacturer’s specifications, typically hand-tight with an additional quarter turn to ensure a firm seal.
Finally, once the new spin-on oil filter is installed, it’s time to check the oil system for leaks. This ensures that the filter is properly seated and that no contaminants have been introduced into the engine during the replacement process. Starting the engine and allowing it to idle for a few minutes is a good way to check for any oil leaks around the filter area. If everything looks good, you can proceed with refilling the engine with clean oil, if necessary, and perform a final check to ensure all components are secure.
By following these simple steps, you can replace your spin-on oil filter with confidence, knowing that the risk of introducing impurities into the engine oil system is virtually eliminated. The spin-on filter’s design, paired with careful maintenance practices, makes it one of the most reliable and user-friendly options for keeping your engine clean and protected.
 English
 English
 Español
 Français
 +86-139-6774-0263


